
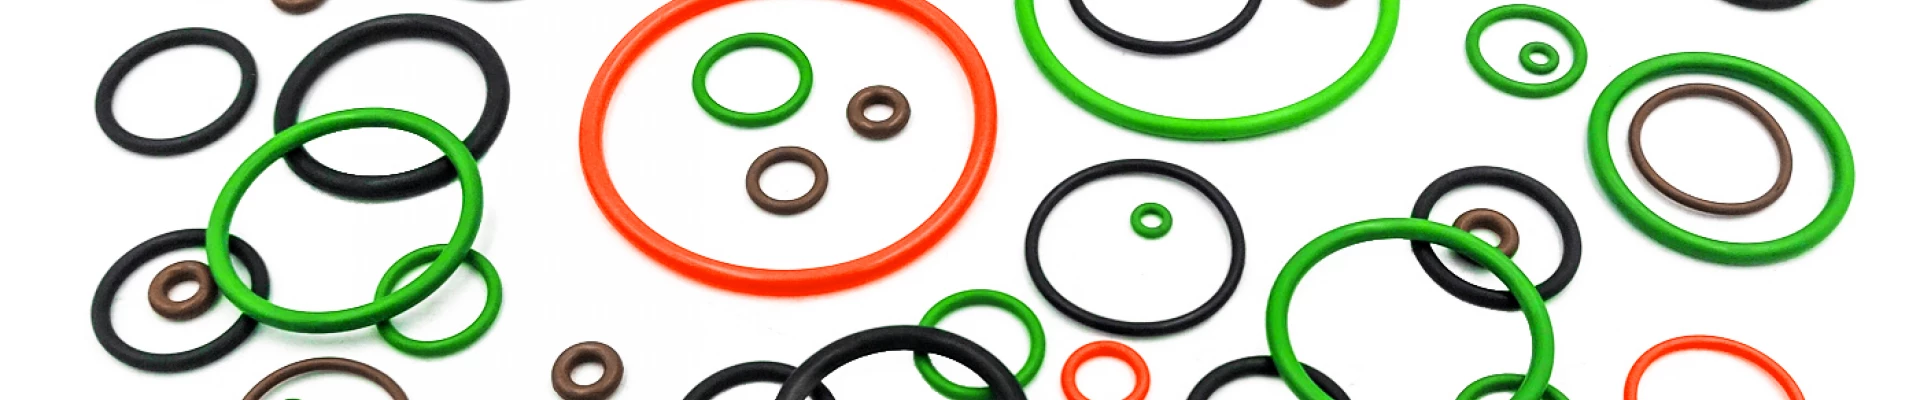
A simple shape, easy installation, and an enormous range of available sizes have made the O-ring the cornerstone of sealing in hydraulics, pneumatics, and general mechanical engineering for decades. This guide will show you how to correctly select, measure, and install a seal from the elastoring.eu range.
What is an O-ring and how does it work?
An O-ring is a flexible ring with a circular cross-section, operating in a properly prepared groove (gland). Thanks to the elasticity of the material and the pressure of the working medium, it seals reliably and predictably.
Self-energising effect under pressure: Liquid or gas under pressure forces the O-ring against the groove wall. The higher the pressure (up to the material's strength limit), the more effectively the seal performs — with no fasteners required.
How to measure an O-ring correctly before ordering?
In the technical sealing industry, the standard notation is: Inside Diameter (d₁) × Cross-section (d₂) (wall thickness).
Use a calliper to measure a worn O-ring, but bear in mind that rubber can be permanently deformed, stretched, or swollen from chemical contact after removal. If in doubt, the safest approach is to measure the metal groove (gland) in which the seal will operate and use those dimensions to select the correct size from the catalogue. Always specify the inside diameter — never the outside diameter!
Key technical parameters of an O-ring
Inside diameter (d₁)
The primary dimension defining the fit of the ring onto the mating component. Even minor deviations can result in leakage or installation problems.
Cross-section (d₂)
Directly affects the squeeze in the groove and the contact area. A larger cross-section generally provides a greater sealing reserve, but also generates higher friction in dynamic applications.
Hardness (Shore A scale)
The hardness of the rubber compound is selected primarily based on the working pressure:
Working pressure and back-up rings
For pressures exceeding the static (40 MPa) and dynamic (10–15 MPa) limits, back-up rings must be used to protect the elastomer from mechanical damage under high pressure loads.
Surface finish
Metal surfaces in contact with the seal should be smooth — Ra value in the range of 0.2–0.8 µm. Sharp edges, burrs, and deep scratches can cut the seal lip during installation or operation.
Material guide — choose the right compound
The working environment is the single most important factor determining seal longevity. The table below will help you select the right material from the elastoring.eu range:
| Material | Oils & fuels | Ozone / weather | Temperature range | Mech. resistance | Typical applications |
|---|---|---|---|---|---|
| NBR Buna-N | Good | Poor | −30…+100 °C | Good | Classic power hydraulics, engines, automotive, agricultural machinery |
| PU Polyurethane | Good | Good | −20…+90 °C | Very good | High-pressure dynamic systems, actuators, heavy pneumatics |
| FPM/FKM Viton® | Excellent | Good | −20…+200 °C | Good | Chemical industry, petrochemicals, high temperatures, aggressive acids |
| EPDM | Poor (none) | Very good | −50…+150 °C | Moderate | Water and steam systems, glycol-based brake fluids, car washes, UV exposure |
| VMQ Silicone | Poor | Very good | −60…+200 °C | Poor | Food industry (FDA compounds), medical, extreme temperatures (static use) |
Correct installation — how to avoid damaging a new O-ring
Even a perfectly matched O-ring will fail immediately if installed incorrectly. Follow these installation steps carefully:
1. Clean the groove
Before installation, remove all remnants of the old seal, metal filings, rust, and dirt from the groove. Use plastic tools for cleaning glands to avoid scratching the metal surface.
2. Protect sharp edges
If the O-ring must be pulled over threads or sharp shaft edges, protect them with a dedicated assembly sleeve or wrap them with tape.
3. Lubrication (critical step!)
Never install rubber seals dry. Apply a thin film of lubricant compatible with the elastomer: silicone grease for EPDM or mineral oil for NBR.
4. Install without twisting
Seat the ring evenly. Avoid excessive stretching (max. 5%). Make sure the O-ring has not twisted in the groove — a twisted ring will fail rapidly under pressure.
Common installation mistakes and causes of seal failure
Identifying the appearance of a damaged O-ring helps prevent the same mistake from recurring:
| Failure symptom | Root cause | Remedy |
|---|---|---|
| Extrusion (gap extrusion) — chipped or frayed edges on the low-pressure side | Excessive pressure or compound too soft | Switch to 90 ShA hardness or add a back-up ring |
| Thermal degradation — rubber cracks, crumbles, or hardens permanently | Maximum operating temperature exceeded | Replace NBR with Viton/FPM or another compound with a higher temperature rating |
| Swelling or delamination — O-ring increases in size, becomes soft and spongy | Incompatible chemical resistance | Check chemical compatibility — e.g. EPDM is unsuitable for contact with mineral oils |
Looking for reliable seals?
Browse our full range of sizes, materials, and installation accessories directly on our website.
Visit lemming.shop